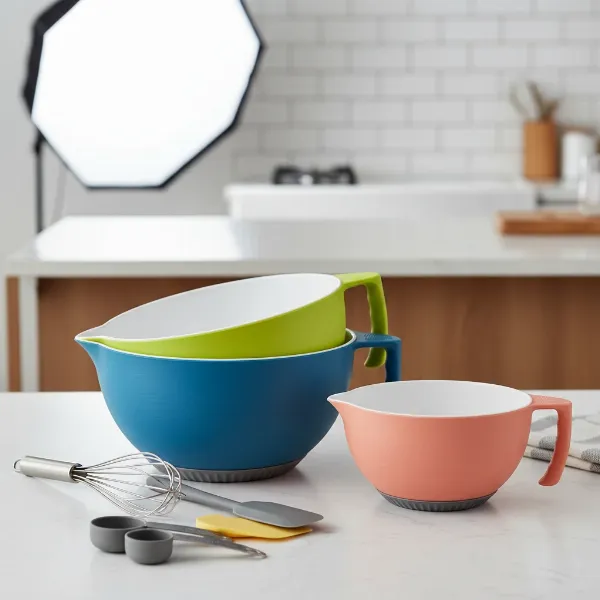
For any passionate baker, the journey to a perfect loaf of bread culminates in one crucial step: proofing the dough. This seemingly simple waiting period is, in fact, a delicate science where yeast works its magic, transforming dense dough into a light, airy masterpiece. While many factors influence a successful rise, the mixing bowl you choose plays an unexpectedly significant role. As someone who has spent over a decade meticulously testing and evaluating mixing bowls, from everyday essentials to high-end specialty pieces, I’m here to share the insights you need to select the ideal companion for your dough’s crucial resting phase. Let’s delve into the world of mixing bowls and unlock the secrets to flawless dough proofing.
Understanding the Art of Dough Proofing
At its heart, proofing is simply another term for allowing your dough to rise. During this process, the yeast within your dough ferments, releasing carbon dioxide gas. These gas bubbles become trapped within the gluten network of the dough, causing it to expand and puff up. This expansion is vital, as it develops the characteristic light and airy texture we all desire in freshly baked bread. Without proper proofing, your bread can turn out dense and unappetizing.
Achieving the perfect rise isn’t solely about the bowl, but also about creating an optimal environment. The ideal temperature range for yeast activity typically falls between 75°F to 85°F (24°C to 29°C). Ensuring consistent temperature and a draft-free space is paramount. Proper hydration, following your recipe’s water-to-flour ratio, also activates the yeast and promotes robust gluten development. Finally, give your dough ample time to double in size—rushing this process can lead to underdeveloped flavors and a heavy texture. Maintaining controlled humidity, often by covering your bowl with a damp cloth or plastic wrap, prevents the dough surface from drying out or becoming overly sticky.
Essential Considerations for Proofing in a Mixing Bowl
When selecting a mixing bowl for proofing, a few core principles will guide your choice, ensuring your dough has the best conditions to thrive.
- Size Matters: The most critical factor is ensuring your mixing bowl offers ample space. As your dough proofs, it will ideally double in volume, so choose a bowl with a capacity of at least twice the initial dough volume. This prevents overflowing and allows for proper expansion, which is key to a well-risen bread. A wide and shallow bowl can also be beneficial for higher hydration doughs, promoting more even fermentation.
- Preventing Stickiness: Always grease your mixing bowl lightly before placing the dough inside. A thin coating of oil, rubbed evenly over the entire interior surface, will prevent the dough from sticking as it rises. This also helps keep the dough from drying out, especially on its exposed surface. After kneading, many bakers find it beneficial to shape the dough into a tight, smooth ball before placing it in the greased bowl; this helps maintain surface tension and traps air bubbles for better gluten development during bulk proofing.
- Temperature Stability: Different bowl materials have varying abilities to retain or conduct heat. Understanding these properties can help you create the most stable temperature environment for your dough, especially when proofing in cooler kitchens.
Exploring Mixing Bowl Materials for Dough Proofing
The material of your mixing bowl significantly impacts its suitability for proofing. Let’s examine the most common types and their unique characteristics.
Glass Mixing Bowls
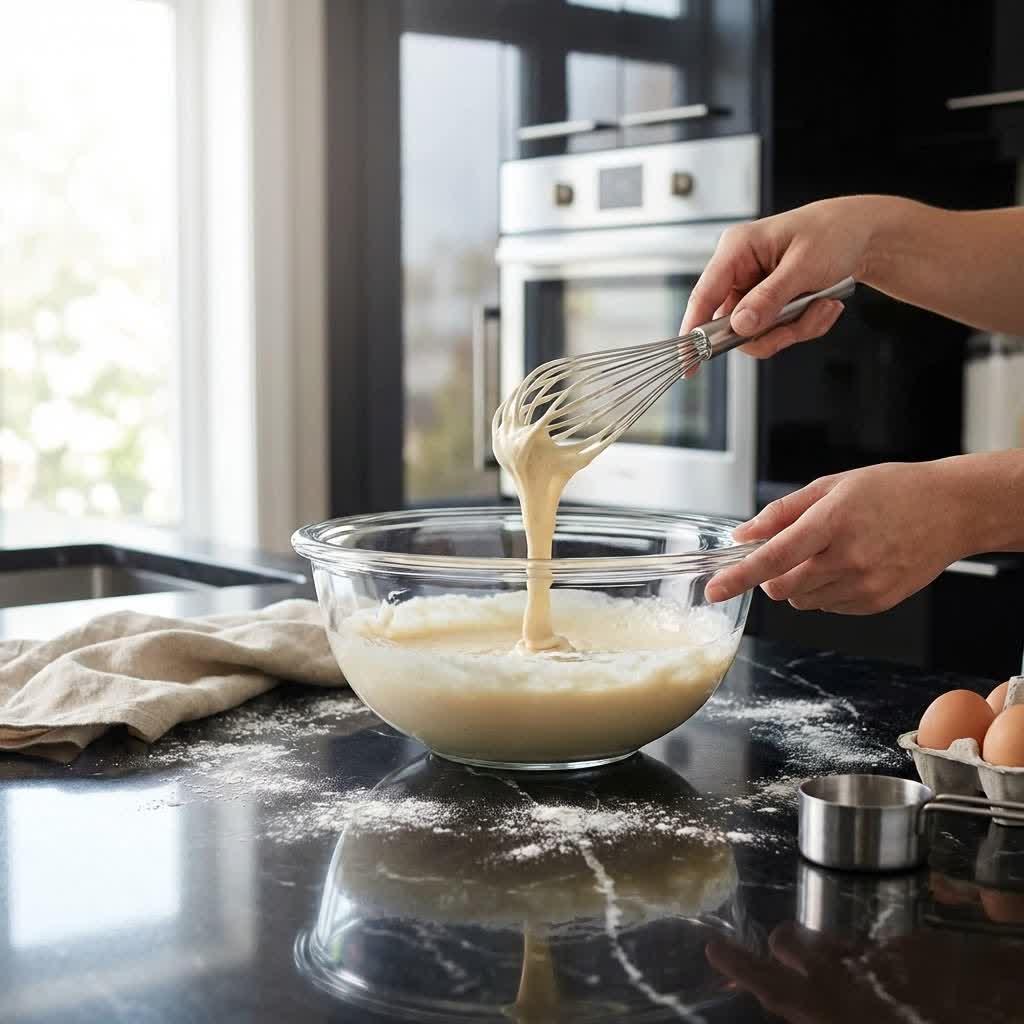
Glass bowls offer a sleek, transparent appeal that many bakers appreciate.
- Pros: Their non-reactive surface ensures no metallic taste or chemical interaction with acidic doughs, preserving the purity of your bread’s flavor. The transparency is a huge advantage, allowing you to visually monitor the dough’s progress, watching for subtle changes and bubble formation as it rises. Glass bowls are also very easy to clean and often microwave-safe, making it convenient to warm ingredients or even create a warm proofing environment.
- Cons: Glass bowls can be quite heavy, especially when dealing with large quantities of dough, and they are inherently fragile, prone to breaking if dropped or mishandled. Furthermore, glass is a poor insulator, meaning it doesn’t retain heat as well as some other materials. This can be a disadvantage in colder environments, potentially slowing down the proofing process unless external warmth is applied.
- Best For: Bakers who prioritize visual monitoring of their dough and are working with delicate recipes where reactivity is a concern.
|
Our Picks for the Best Mixing bowl in 2026
As an Amazon Associate I earn from qualifying purchases.
|
||
| Num | Product | Action |
|---|---|---|
| 1 | Cuisinart Mixing Bowl Set, Stainless Steel, 3-Piece, CTG-00-SMB |

|
| 2 | Fox Run Brands 2.75-Quart Stainless Steel Mixing Bowl, 9 x 9 x 4 inches, Metallic |
|
| 3 | OXO Good Grips 5-Quart Mixing Bowl |
|
| 4 | Glad Mixing Bowls with Pour Spout, Set of 3 | Nesting Design Saves Space | Non-Slip, BPA Free, Dishwasher Safe Plastic | Kitchen Cooking and Baking Supplies, White |
|
| 5 | Umite Chef Mixing Bowls with Airtight Lids Set, 8PCS Stainless Steel Khaki Nesting Bowls with Grater Attachments, Kitchen Bowls with Non-Slip Bottoms, Size 5, 4, 3.5, 2, 1.5QT for Mixing & Serving |
|
| 6 | Winco 5 Quart Heavy-Duty Stainless Steel Mixing Bowl, Deep |
|
| 7 | Winco , 8-Quart, Stainless Steel (MXB-800Q) |
|
| 8 | JoyJolt Stainless Steel Mixing Bowl Set - 6 Piece Nesting Bowls, 5qt to 0.5qt, Ideal for Kitchen, Cooking, Baking and Storage |
|
| 9 | Glad Mixing Bowls with Pour Spout, Set of 3 | Nesting Design Saves Space | Non-Slip, BPA Free, Dishwasher Safe Plastic | Kitchen Cooking and Baking Supplies, Sage Green |
|
| 10 | Priority Chef Premium Mixing Bowls With Lids Set, Airtight Lids, Thicker Stainless Steel, Non-Slip Base, 5 Nesting Steel Bowls for Kitchen, Large Prep Metal Bowl Set 1.5/2/3/4/5 Qt, Black |
|
Stainless Steel Mixing Bowls
A staple in most kitchens, stainless steel bowls are a favorite among professional and home bakers alike.
- Pros: Stainless steel is exceptionally durable, resistant to scratches, dents, and rust, ensuring longevity. They are also lightweight, making them easy to handle, even with large volumes of dough. Modern stainless steel is non-reactive, making it a safe choice for all dough types, including acidic sourdoughs. These bowls can be easily chilled or warmed, offering excellent temperature control. This allows them to either retain the dough’s natural warmth for a steady rise or be used in conjunction with warm water baths for a quicker proof. Most are dishwasher-safe, simplifying cleanup.
- Cons: While generally non-reactive, some older or low-quality metal bowls might leave a metallic taste, though this is rare with contemporary stainless steel. They can also conduct heat very efficiently, which means they might lose heat quickly in a cold environment or get too hot if placed near a direct heat source, requiring careful temperature management.
- Best For: Versatile bakers who need a durable, easy-to-clean, and temperature-responsive bowl for all types of dough, from everyday bread to intricate pastries. Many consider them an excellent all-around choice for proofing.
Plastic Mixing Bowls
Often the most budget-friendly option, plastic bowls offer convenience and variety.
- Pros: Plastic bowls are lightweight, making them easy to move around, and come in a vast array of sizes and colors. Modern food-grade polypropylene plastic bowls are praised for their low surface energy, which allows dough to slide out effortlessly, even with minimal oiling. They are generally less likely to absorb odors or flavors than some other materials and are often flexible, which can be useful for certain dough handling techniques like stretch and folds.
- Cons: Not all plastic bowls are created equal; some may be prone to scratching and discoloration over time, and it’s crucial to ensure they are BPA-free for food safety. Unlike wood or ceramic, plastic doesn’t insulate temperature as effectively, meaning the dough’s temperature might fluctuate more depending on the ambient environment.
- Best For: Bakers on a budget, those prioritizing lightweight convenience, and for tasks where non-stick properties are highly valued, particularly with softer, stickier doughs.
Ceramic Mixing Bowls
Bringing a touch of traditional elegance to the kitchen, ceramic bowls have unique thermal properties.
- Pros: Ceramic bowls are substantial and sturdy, providing excellent stability during mixing and handling. Their most significant advantage for proofing is their superior heat retention. Once warmed, they maintain a consistent temperature, creating a stable environment crucial for steady yeast activity, which is especially beneficial for doughs that require a warm spot to rise. Their aesthetic appeal also makes them suitable for serving.
- Cons: Due to their material, ceramic bowls are typically heavy, which can be cumbersome, and they are susceptible to chipping or breaking if dropped. If not properly cared for, some ceramic glazes can accumulate odors or stains over time.
- Best For: Bakers who appreciate traditional aesthetics and require a bowl that can consistently hold warmth, ideal for bulk fermentation in cooler kitchens or for longer proofing periods.
Wooden Mixing Bowls
Wooden bowls evoke a rustic charm and are often favored for traditional baking methods.
- Pros: Wooden dough bowls are renowned for their natural ability to regulate temperature, providing a uniquely stable and insulated environment for yeast fermentation. They also possess a natural porosity that can absorb excess moisture, helping to prevent the dough surface from becoming soggy.
- Cons: Wooden bowls generally require more maintenance, including hand washing and occasional oiling to keep them in good condition. It’s essential to use bowls with food-grade finishes (such as mineral oil or beeswax) to prevent the wood from imparting unwanted flavors to your dough.
- Best For: Traditional bakers, especially those working with sourdough, who value natural temperature regulation and moisture absorption.
Comparing Mixing Bowl Types for Proofing
Here’s a quick reference table to help you weigh the options for your proofing needs:
| Feature | Glass | Stainless Steel | Plastic | Ceramic | Wooden |
|---|---|---|---|---|---|
| Durability | Moderate | High | Low to Moderate | Moderate | Moderate |
| Weight | Heavy | Light | Light | Heavy | Moderate |
| Cost | Moderate | Moderate | Low | High | Moderate to High |
| Ease of Clean | High | High | Moderate | High | Moderate |
| Heat Retention | Low | Moderate | Low | High | High |
| Visibility | High | Low | Low | Low | Low |
| Reactivity | Non-reactive | Non-reactive | Potentially | Non-reactive | Non-reactive |
Selecting the Perfect Mixing Bowl for Your Proofing Needs
With such a variety of options, choosing the “best” mixing bowl for proofing comes down to your specific baking habits and preferences.
1. Define Your Baking Purpose
Consider what you primarily bake. Are you a frequent bread maker, often working with high-hydration sourdough? Or do you occasionally whip up a batch of dinner rolls? If you’re focused on visual cues, a glass bowl might be your go-to. If robust durability and temperature control are paramount for large batches of yeast dough, stainless steel could be ideal. For slow, consistent fermentation in cooler climates, a ceramic or wooden bowl could be a game-changer.
2. Choose the Right Size
Always opt for a bowl that is at least double the size of your dough. If you frequently bake large loaves or multiple smaller items, investing in a larger bowl or a set of varying sizes will be beneficial. Overcrowding a bowl can hinder proper rising and gluten development.
3. Prioritize Safe and Non-Reactive Materials
For any food preparation, especially with acidic doughs like sourdough, choosing non-reactive materials is crucial to prevent off-flavors or unwanted chemical interactions. Stainless steel and glass are excellent non-reactive options. If opting for plastic, ensure it is clearly labeled BPA-free and food-grade. For wooden bowls, verify that they are finished with food-safe oils or waxes.
4. Evaluate Durability and Ease of Cleaning
Baking can be messy, so a bowl that can withstand regular use and is easy to clean will enhance your overall experience. Stainless steel and glass bowls generally excel in this area, often being dishwasher-safe. Ceramic bowls are durable but require careful handling to avoid chipping. Wooden bowls need a bit more care with hand washing and periodic oiling.
5. Consider Reputable Brands and User Reviews
Just as with any kitchen tool, brand reputation and user feedback can provide valuable insights into a mixing bowl’s quality and performance. Researching brands known for their baking equipment or specific types of bowls can help you make an informed decision.
“The right mixing bowl doesn’t just hold your dough; it actively contributes to its transformation. It’s an often-underestimated tool in the baker’s arsenal that can make the difference between a good loaf and a truly exceptional one.” – [Your Name/Role, reviewbn.com Admin], Expert in Kitchenware.
Conclusion
The journey to perfectly proofed dough is a rewarding one, and your mixing bowl is a silent partner in this delicate dance. By understanding the nuances of different materials – from the visual clarity of glass to the robust durability of stainless steel, the lightweight practicality of plastic, the consistent warmth of ceramic, and the traditional insulation of wood – you can make an informed choice that elevates your baking. Whether you prioritize heat retention, ease of cleaning, visibility, or sheer longevity, there’s a mixing bowl perfectly suited to your proofing needs.
Which mixing bowl material do you find works best for your signature dough recipes, and why?
Frequently Asked Questions
What is the ideal temperature for proofing dough?
The ideal temperature range for proofing dough is typically between 75°F to 85°F (24°C to 29°C). This temperature range optimizes yeast activity, allowing the dough to rise effectively and develop desirable flavors and textures. Maintaining a warm, draft-free environment is key to consistent proofing.
How do I know if my dough is properly proofed?
A common test for proper proofing is the “poke test.” Gently poke the dough with a floured finger. If the indentation slowly springs back halfway, your dough is likely ready. If it springs back too quickly, it needs more time; if it collapses, it might be overproofed.
Can I overproof my dough? What happens?
Yes, dough can be overproofed. This occurs when the yeast consumes too much of the sugars, producing excess gas that eventually causes the gluten structure to weaken and collapse. Overproofed dough often smells overly yeasty or alcoholic, loses its elasticity, and may bake into a dense, flat, or crumbly loaf.
How can I proof dough in a cold kitchen?
To proof dough in a cold kitchen, you can create a warm microclimate. Place your bowl in a slightly warmed, turned-off oven (with a pan of hot water for humidity), near a warm appliance like a refrigerator exhaust, or even in a cooler bag with a warm water bottle.
Is it better to bulk proof or final proof in a mixing bowl?
A mixing bowl is primarily used for bulk fermentation (the first rise) due to its larger volume and capacity to accommodate significant expansion. Final proofing (the second rise) often occurs in a shaped container like a banneton or loaf pan, which helps the dough maintain its final form.
How do I prevent dough from sticking to the mixing bowl during proofing?
To prevent sticking, lightly grease your mixing bowl with a neutral oil or cooking spray before adding the dough. Ensure the entire surface of the bowl, and ideally the dough itself, has a thin coating. This creates a barrier, allowing the dough to release easily after rising.